Open Kanban and select a project.
(If the project has not yet been created, create it by clicking +New – Project)
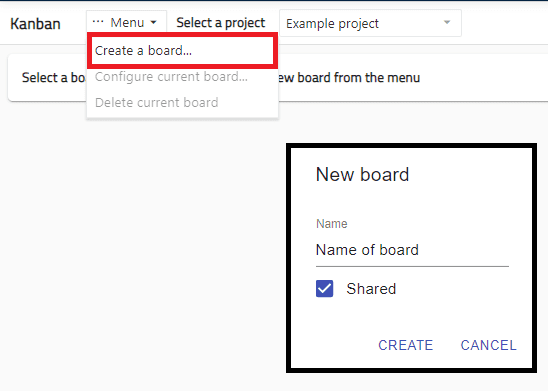
The first time you open Kanban, you need to create a board
from the menu.
Name the board and share it to others.
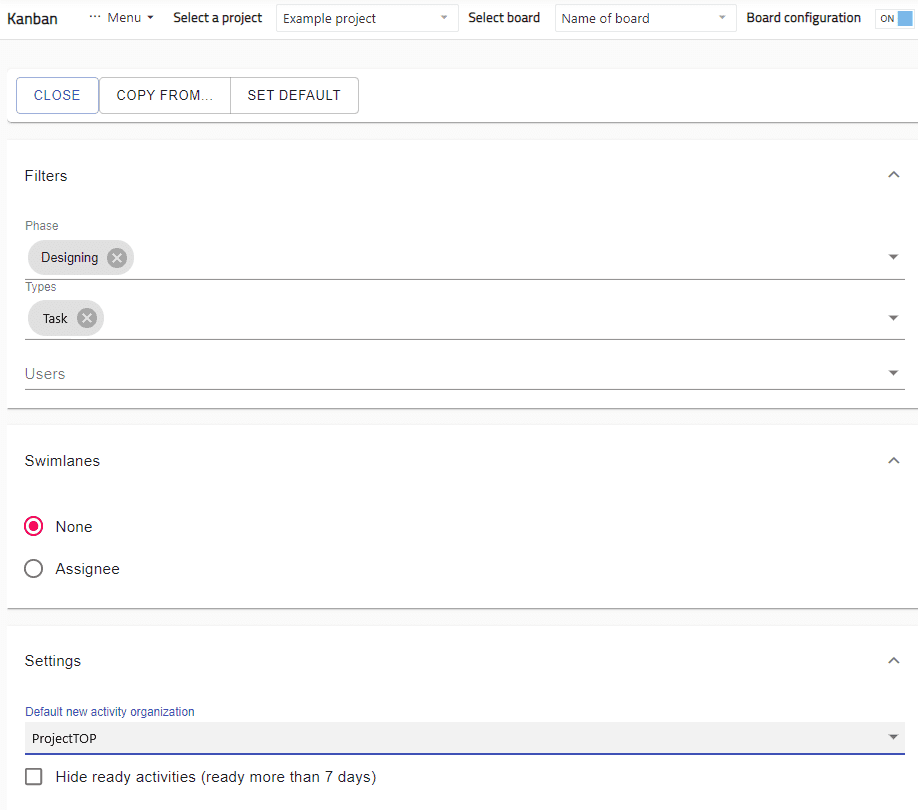
Define table contents:
Filters – Define which steps, activity types,
and users are displayed in the board. For example, you can make your own Kanban board
for error handling for a specific team
Swimlane settings – Define whether the activities are displayed according to the
person in charge
Settings – Select the default organization when creating an activity from Kanban
Activities that have been finished for more than seven days can be set to be hidden
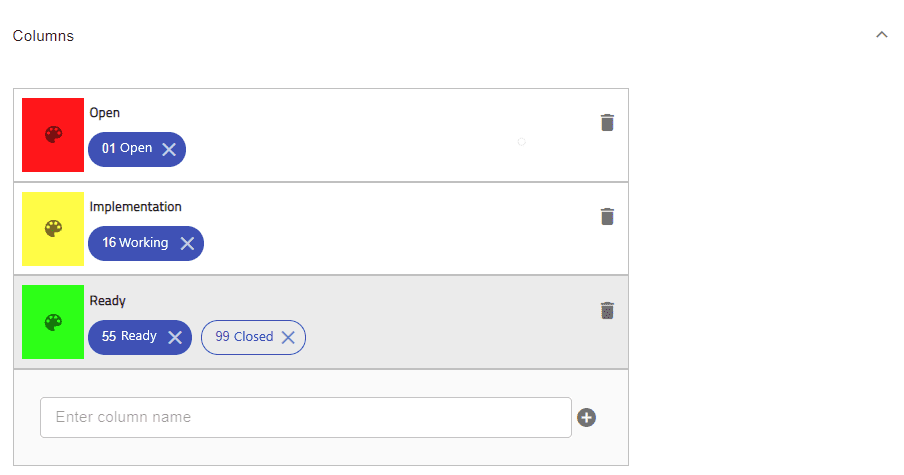
Under the Columns heading, you define the columns in the board as well as the
status matches.
Name the column and add it from the + sign. For example, add the Open, Implementation and Ready columns and grab the corresponding activity statuses by clicking the Column and then the corresponding Status. You can set your own colors for the columns.
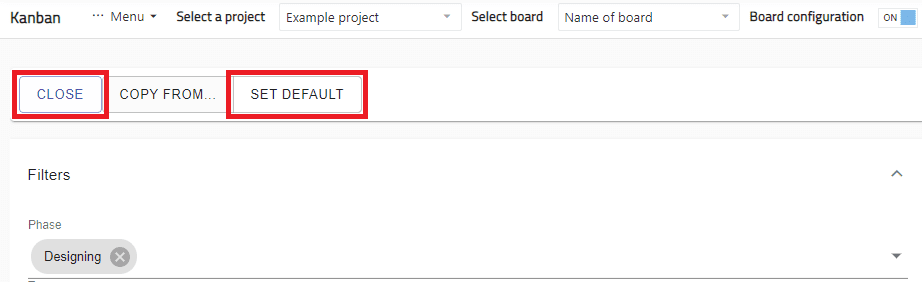
To set the view as the default for the project, click “Set default“. Once the layouts
are done, you can click Close to close the edit view.
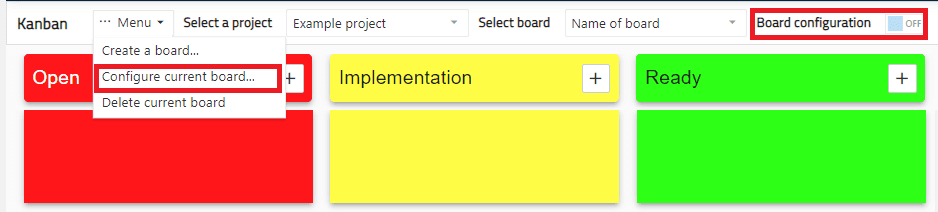
You can reopen the edit view by clicking Board configuration ON or by selecting
Configure current board from the menu.
Once the first Kanban board is created, you can copy it to other projects as well.
Open the project Kanban and create a new Kanban board.
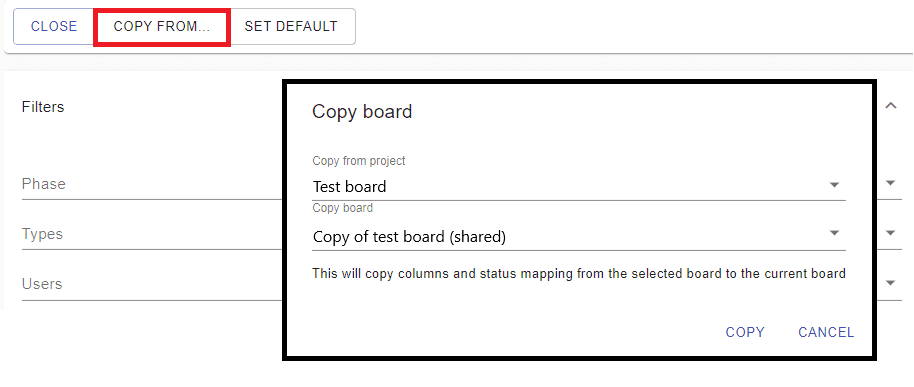
Click Copy from, select the project and the Kanban board saved on it.
Columns do not need to be redefined but only project-specific data.